USD
USD
How to set lead screw pitch on GSK 980TDi CNC Control?
Video on Youtube
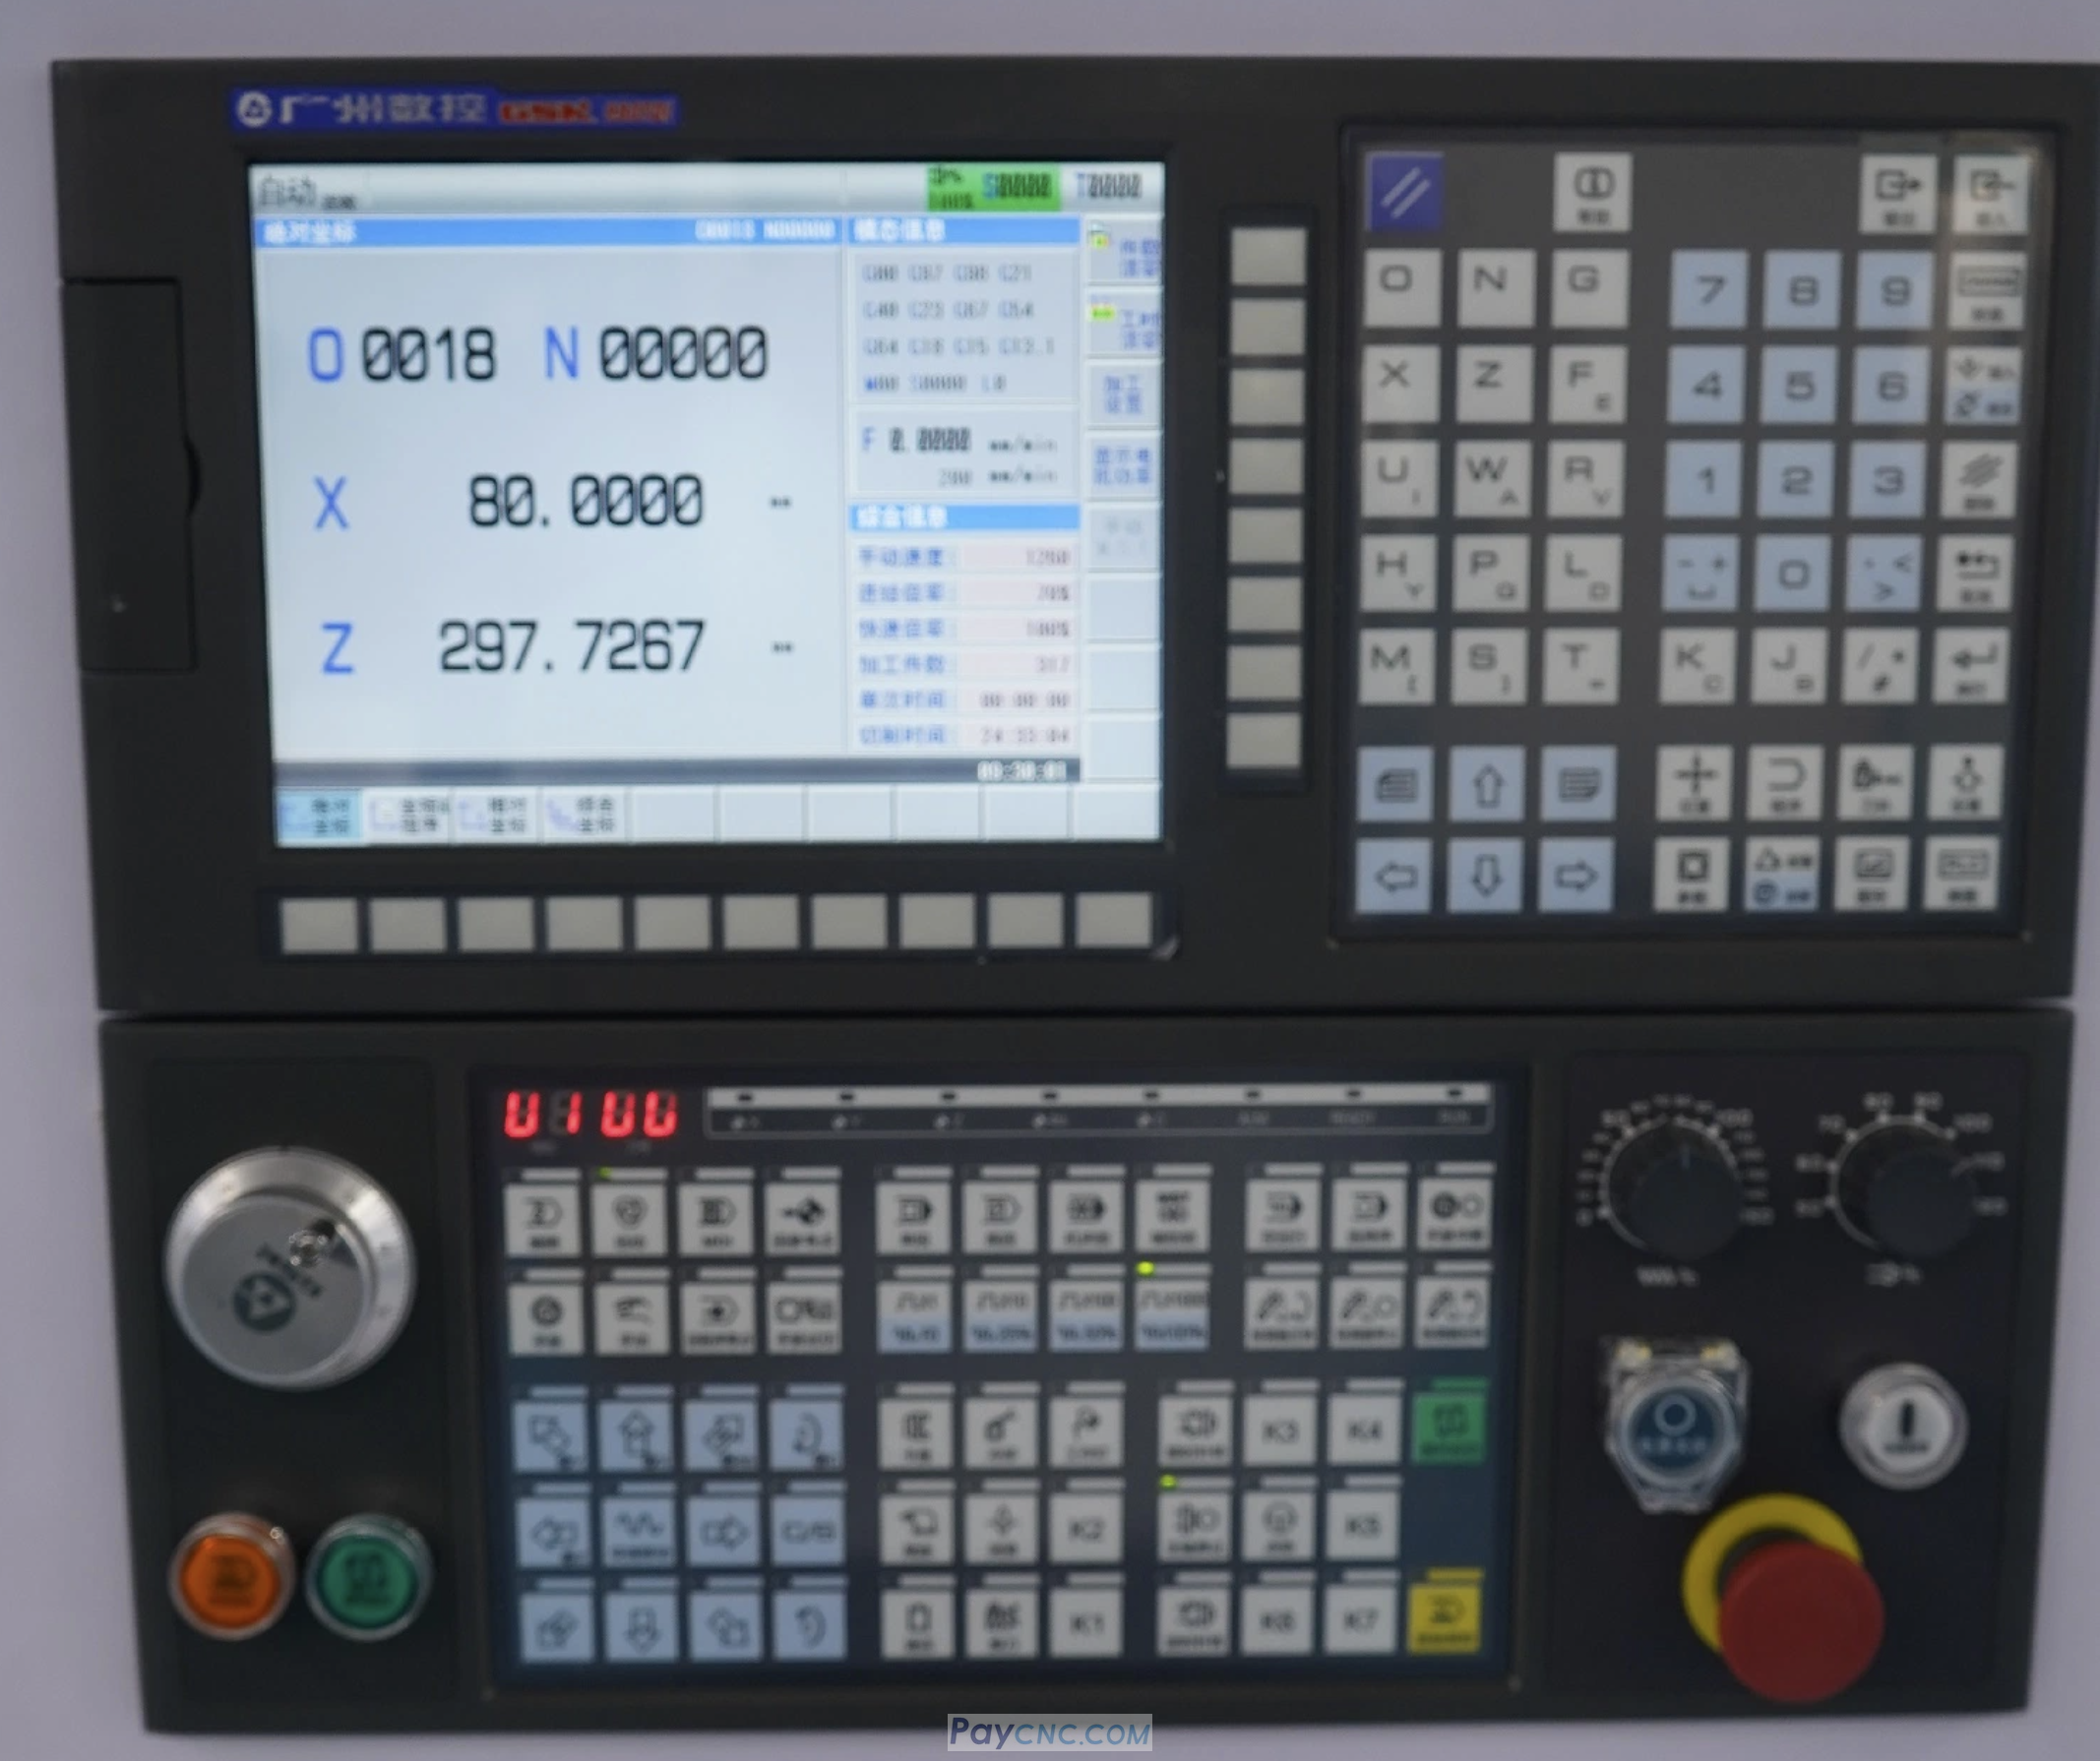
GSK980TDi CNC System Lead Screw Pitch Calculation Steps
Enter Function Debugging Interface:
After powering on, enter the password “******” and press “Input.” Enter the “Full Test” menu through “Function Test.”
Select Target Axis and Input Data:
Select the axis to be calculated (e.g., X-axis) from the menu and input the actual lead screw pitch (the video example uses “4”, “3”, etc.).
Execute Calculation:
After inputting the data, press the “Calculate” key. The system will automatically generate matching parameters.
Key Question:
The video concludes with the core question: Should the calculation results be saved to the CNC system (CNC parameters) or the servo drive?
GSK980TDi CNC System Lead Screw Pitch Calculation Steps
Enter Function Debugging Interface:
After powering on, enter the password “******” and press “Input.” Enter the “Full Test” menu through “Function Test.”
Select Target Axis and Input Data:
Select the axis to be calculated (e.g., X-axis) from the menu and input the actual lead screw pitch (the video example uses “4”, “3”, etc.).
Execute Calculation:
After inputting the data, press the “Calculate” key. The system will automatically generate matching parameters.
Key Question:
The video concludes with the core question: Should the calculation results be saved to the CNC system (CNC parameters) or the servo drive?